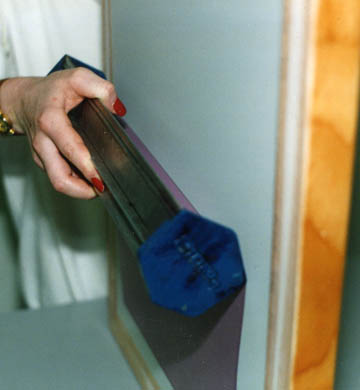
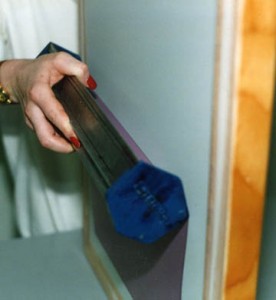
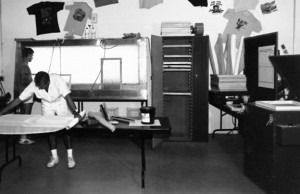
You'll be starting the process with either a brand new screen or a freshly reclaimed screen from previous jobs. If you have a tension meter, be sure to check tension on each screen before the process begins. Your optimum tension should be in the neighborhood of 25 Newtons, especially if you're doing process or simulated process work. 15-20 Newtons will be acceptable. And 10 Newtons and below should likely be discarded or re-stretched, and certainly not used in multi-color work.
If you don't have a tension meter, put it on your "wish list" of purchases for your shop. If you have retensionable frames, check tension and retension if necessary every single time you put a frame through the process. There is absolutely no reason to go to the expense of these special frames if you do not check tension and then tighten up the mesh at this stage in the process each screen cycle. Without checking and tightening the mesh in retensionable frames, you would be wiser saving your money and buying pre-stretched wooden frames.
Step 2 – Degreasing
Degrease your screens each time you go through the screen cycle. There are those who will tell you to degrease only new frames. This is incorrect. You must degrease each time through the process to remove dirt, chemicals, oils and contaminants. A professional screen degreaser will be available from most any of your suppliers. Basically, this product is a detergent without additives such as lanolin and other hand softeners and perfumes. Products such as Simple Green, available at most hardware stores, will also do a good job as a degreaser, and at a reasonable cost. Do not use an abrader product, basically a degreaser with sand-like particles that will rough up the surface of the screen mesh. This product is meant for screens that will have capillary films applied. The rough surface gives the one-sided capillary application a better surface to hold on to. With direct coating, this step is completely unnecessary, and can damage the screen mesh.
Wet your screen with water, then spray (or pour) a small amount of degreaser onto the screen mesh surface. With a soft brush, scrub 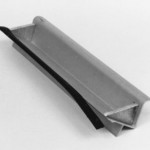 both sides of the screen, generating suds from the degreasing solution. (Keep this brush for degreasing only.) This cleaning can be accomplished with roughly 20-30 seconds of circular motion on each side of the screen. Let the screen stand for another 30 seconds and then hose off all detergent from the mesh and frame with gentle spray from a garden hose.
Screens can be dried standing on end. The critical point is to protect the screen from dust and contamination from this point forward. Pinholes on the press can normally be traced back to dust that settles on the screen surface during this drying process. It's acceptable to use a fan, but be careful not to "machine-gun" dust and debris onto the surface of the screen. Allow your screens to dry in a room as free from dust and debris as possible, and only use a fan if the air is dust free as well.
Once the process has begun, be very careful with your screens. I've seen entire handprints appear on the surface of a coated screen from an employee touching the surface after degreasing and before the coating step. The oils from your skin can be the greatest hazard to a screen in process.
Step 3 – Coating
Scoop coaters are available in any size you would like, purchased by the inch. Buy one (or more) that will give you at least an inch clearance on each side, between the scoop coater and the frame. Most coaters have a sharp side (protected by a plastic cover) and a round side. For garment printing, you will use the sharp side of the scoop coater.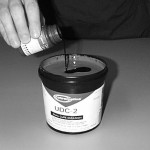
Most screen printers use a two part emulsion that is mixed close to the time you need to use it. Allow a couple of hours after mixing to allow bubbles to dissipate. Preparing your emulsion and even coating your screens can be done in standard shop light (but not direct sunlight). Screens only need subdued or filtered light during drying (after emulsion application) and storage.
Fill the scoop coater with sensitized emulsion. Hold the screen with one hand, standing upright with one side resting on a table. Hold the scoop coater in your other hand. On the bottom of the screen (the opposite of where the ink and squeegee go), place the sharp edge of the scoop coater against the mesh at the bottom of the screen, about an inch away from the frame. We're not concerned about getting emulsion all the way against the frame, only with the print area of the screen. Roll the scoop coater forward until the emulsion makes contact with the screen mesh across the length of 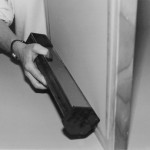 the scoop coater.
Be careful not to roll forward too far. The scoop coater should only touch the screen mesh along its sharp edge. The squared edges of the scoop coater should not touch the screen mesh. This may cause the blade to pull away from the screen surface and result in too much emulsion being laid on the screen.
Pull the scoop coater up the screen surface at a moderate speed. Remember, there are thousands of tiny holes in the screen that we want to fill with a thick emulsion. Too fast and your emulsion layer will be too thin and may have hundreds of trapped air pockets. Pinholes opening up during printing may result. Stop the coating stroke about an inch from the frame at the top. Allow the emulsion to roll back into the scoop coater, and then scoop up. 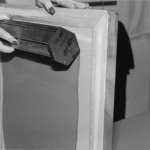 Repeat this coating step on the inside side (where the ink goes) of the screen. One coat on each side will be enough for textile printing. Any excess emulsion that falls into the print area can be cleaned up with dry strokes with the scoop coater across the screen. Excessive emulsion along the edges of the coated screen or on the frame can be carded off with cardboard squares. While not causing any real problem, excessive emulsion on your screen will increase drying time. If you are on a very low mesh or need a thicker stencil for better white ink you can come back and coat the underside/bottom of the screen again. This is called a wet-on-dry coating.
If you get a nick along the sharp edge of the squeegee blade, it's best to dispose of the coater and buy another. This nick will cause an uneven surface on your coated screen and will give you difficulty burning fine lines and halftone dots. Rinse your scoop coater with water and dry immediately after the coating process. Store your scoop coater in a safe place to 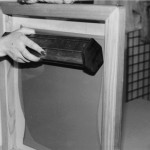 protect from nicks. Mixed emulsion should last about six weeks, stored in a cool dry location in your shop. Storing in the refrigerator is recommended for extended life. You'll know if your emulsion has gone bad by discoloration, separation, and a stringy appearance when poured.
Step 4 – Drying and Storage
After coating, screens should be stored in a dark and dust free room. For best results, buy or build a drying rack where screens can be placed print side down (squeegee side up). This print side down technique will allow emulsion to flow toward the print side during drying, and give us a heavier, smoother emulsion coat on the print side. The result will be a stronger screen surface on the press, and a good surface for ideal exposure.
Coated screens should be stored in a dark room until ready for exposure, but can be removed from the drying rack and stored  standing on end after complete drying. For best results, expose your coated screens within two weeks of coating. A dehumidifier will speed drying and help preserve coated screens to their maximum usage.
Direct coating of screens does not have to be a difficult ordeal. With just a little practice, you'll become an expert coater. You can be coating screens before lunch today!


