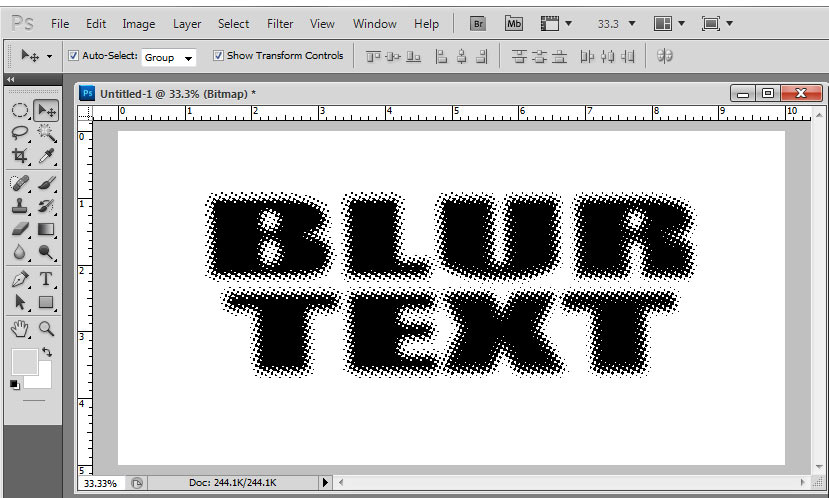
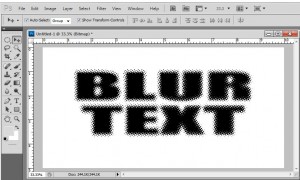
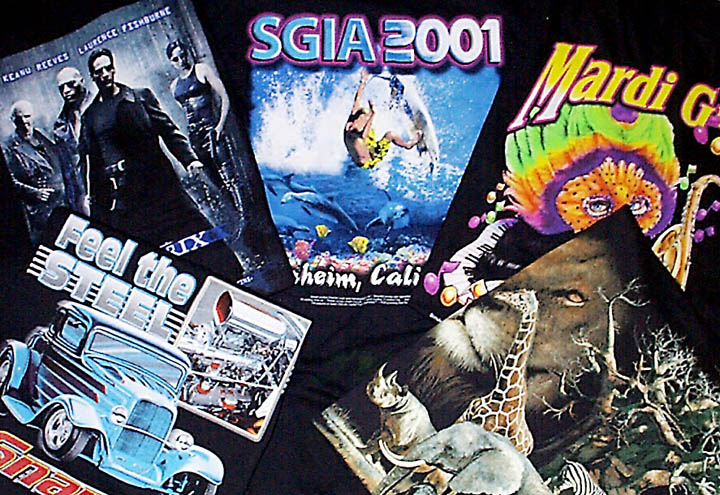
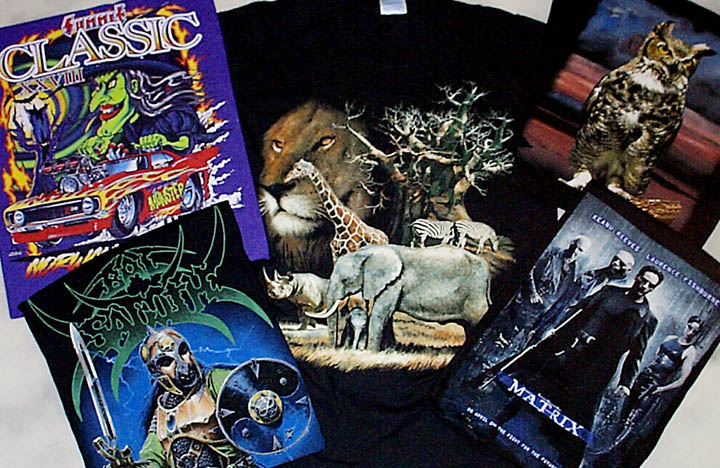
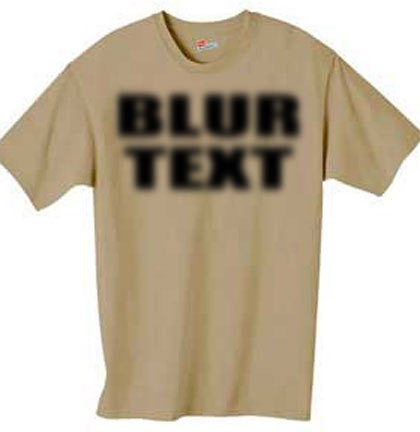
 I find it very funny that we strive to do high end photo realistic images on light and dark shirts, and there is a whole other market for simple graphic prints that are very popular. Since everything in this industry comes around more than once (foil was huge in the early 90’s), I thought it time to bring back one of the classic effects – blurred text!
This short article shows how to create this simple effect in Photoshop and Corel Draw, but you can apply the same principle in Illustrator and Corel Photo Paint. Let’s start a “trend” again for those who have never seen this on a shirt.
Note: Click on images for larger view.
Overview
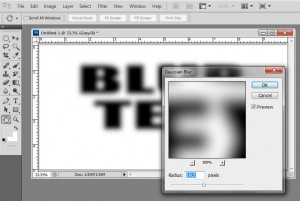
The basic principle here is to create the text you want in any program. The text is converted from a vector/font to a bitmap grayscale image. A standard Filter called a Guassian Blur is applied to the image and then the image converted to a halftone with a very low frequency/lpi. Simple.
Here are the steps for Adobe Photoshop (any version)
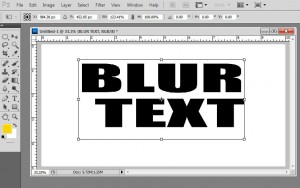
1. Create text using the Text Tool. Make sure you have plenty of extra canvas around the image (white area).
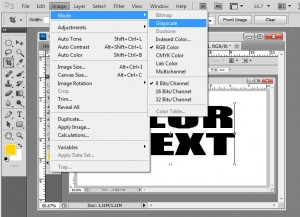
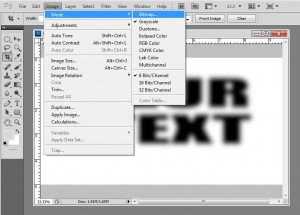
2. Convert the text to a Grayscale (Image/Mode/Grayscale).
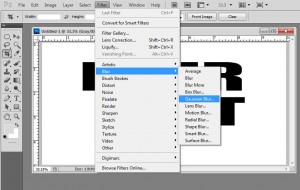
3. Apply a Gaussian Blur. Play with the settings. Too much and the type is not readable. Too little and the effect is lost.
4. Convert the image to a Bitmap (Image/Mode/Bitmap).
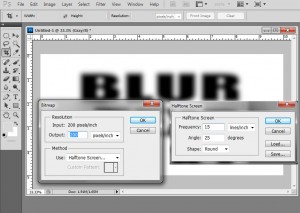
5. Choose halftone dot and select a low frequency/lpi of 15. The angle is not critical. Use a round dot shape.
6. Output a film and put on pretty much any mesh screen (120 to 156).
Here are the steps for Corel Draw (any version)
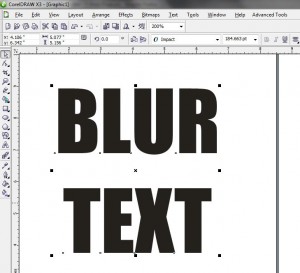
1. Create text using the Type Tool.
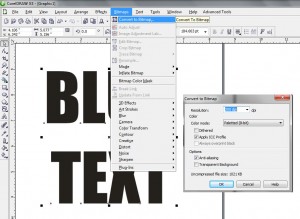
2. Convert the image to a Bitmap (Bitmaps/Convert to Bitmap).
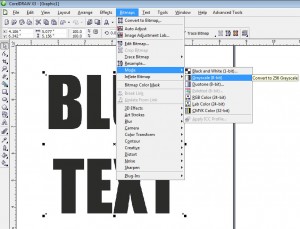
3. Convert this image to a Grayscale (Bitmaps/Mode/Grayscale).
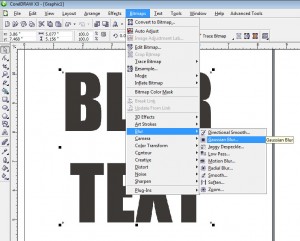
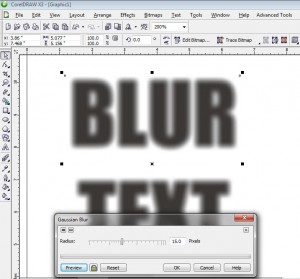
4. Apply a Gaussian Blur (Bitmaps/Blur/Gaussian Blur). Play with the slider to get the effect you want.
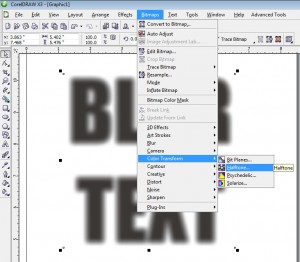
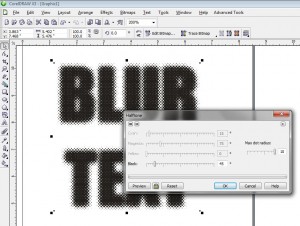
5. Convert the image to a large halftone dot (Bitmaps/Color Transform/Halftone).
Note: Over the years Corel Draw moved things around. In very early versions of Corel some of the above features maybe under different menus.
Have fun!


