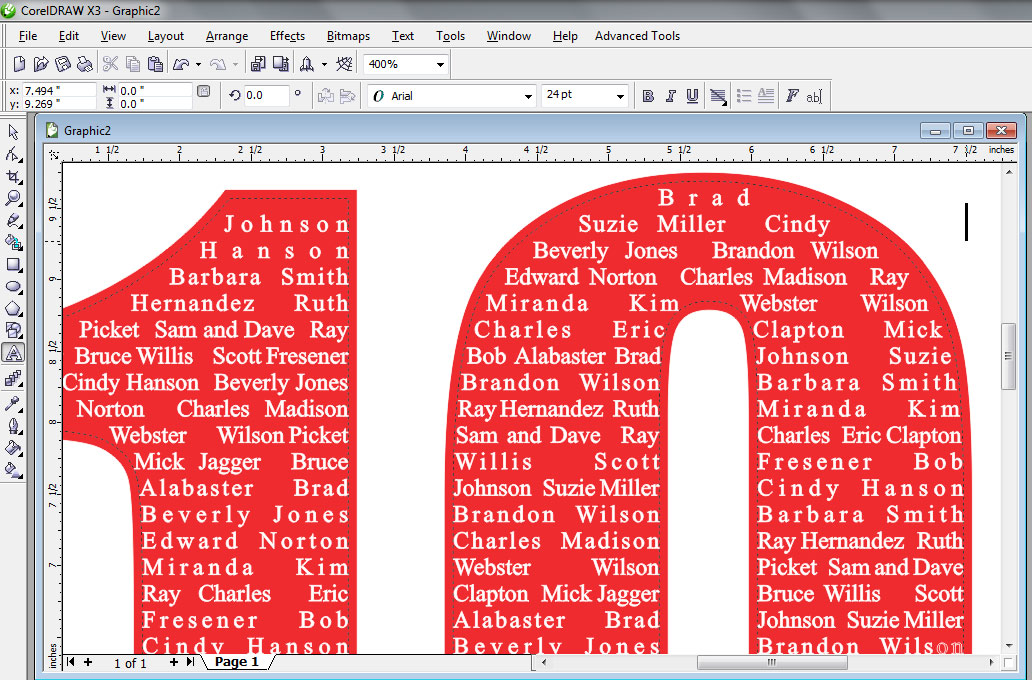
Some things never change. Regardless of what shirts are in style, there is still a market for putting a list of students in a class inside a word or the graduation year. This is an old technique that never goes out of style. This article shows how to create this effect in any version of Corel Draw.
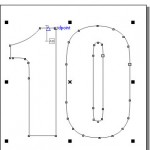
1. Open Corel Draw (almost any version). Create the word or class year. The word or number should be a bold typeface to allow plenty of room for words inside. The example uses a typeface called Impact. You could use Collegiate or other similar faces. Make sure the object has no fill and has a thin black outline (to be changed later). Figure 1.
Note: Click on Images for a larger view.
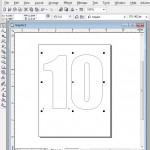
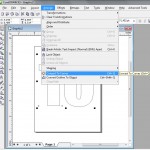
2. Since we can only fill an “object” (and not a typeface) we will need to convert the word or numbers to curves (Arrange/Convert to Curves). Figure 2.
3. Although you could type the names directly into the word, it is easier to use your favorite word processing program. Type in the names you want, leaving an extra space between them. You could also put a dash or dot between the names. Just type the names end-to-end and let them go to the next line automatically as you type (do not use a “carriage return”). Use a plain typeface with a point size of 12 to 14. Figure 3.
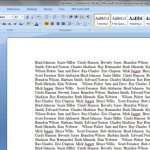
You need to copy these names into the object in Corel Draw. The easiest way is to select all the names and “Copy” them to Clipboard (Control C).
4. In Corel Draw, select the Text Tool (“A”) and bring it over to the top of the object. When the type tool is on the edge of the object you will add the text around the object. If you bring the type tool just inside the object you will see a small square box with an AB appear below the cursor. When this box appears, stop and click. Figure 4.
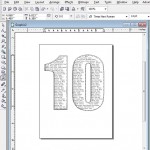
Next, Paste the names into the object (Control V or Edit/Paste). The names will now flow inside the object. If you have two numbers they will flow across the numbers. Figure 5.
5. The names will come in left justified. To force them to fill the object, first, select the Type tool and click and drag with the cursor over all the names (just like in word processing). Figure 6.

6. Next, select the “Horizontal Alignment” button from the middle of the “Standard Menu.” Select Force Full or Force Justify. Figure 7.
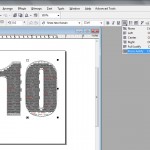
7. You can remove the outline and let the edge of the words give the object a hard edge. You can also fill the object with a color or even make the word or number solid black and the class names white by using the Type Tool and highlight all the names and select a white fill AND a white outline for the names (to make them bolder) from the color palette. Figure 8.
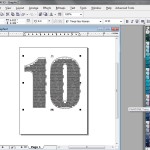
8. You can then fill the number with whatever color you want from the color palette. Figure 9.
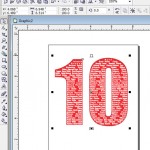
Keep in mind that this is a simple method. If you look close you can see that names go across both numbers and this may not be what you want. Figure 10.
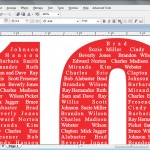
AND, most importantly, if you have a long list you will have to make sure you know the LAST name and change your font size so you get the entire list in the numbers.
You can also simply do one number at a time and fill it with a partial list using the methods above. You will then have to create and fill the second digit and fill it with the remaining names. This is more work but might be more effective.
Have fun with this special graphic effect.


