By Scott Fresener
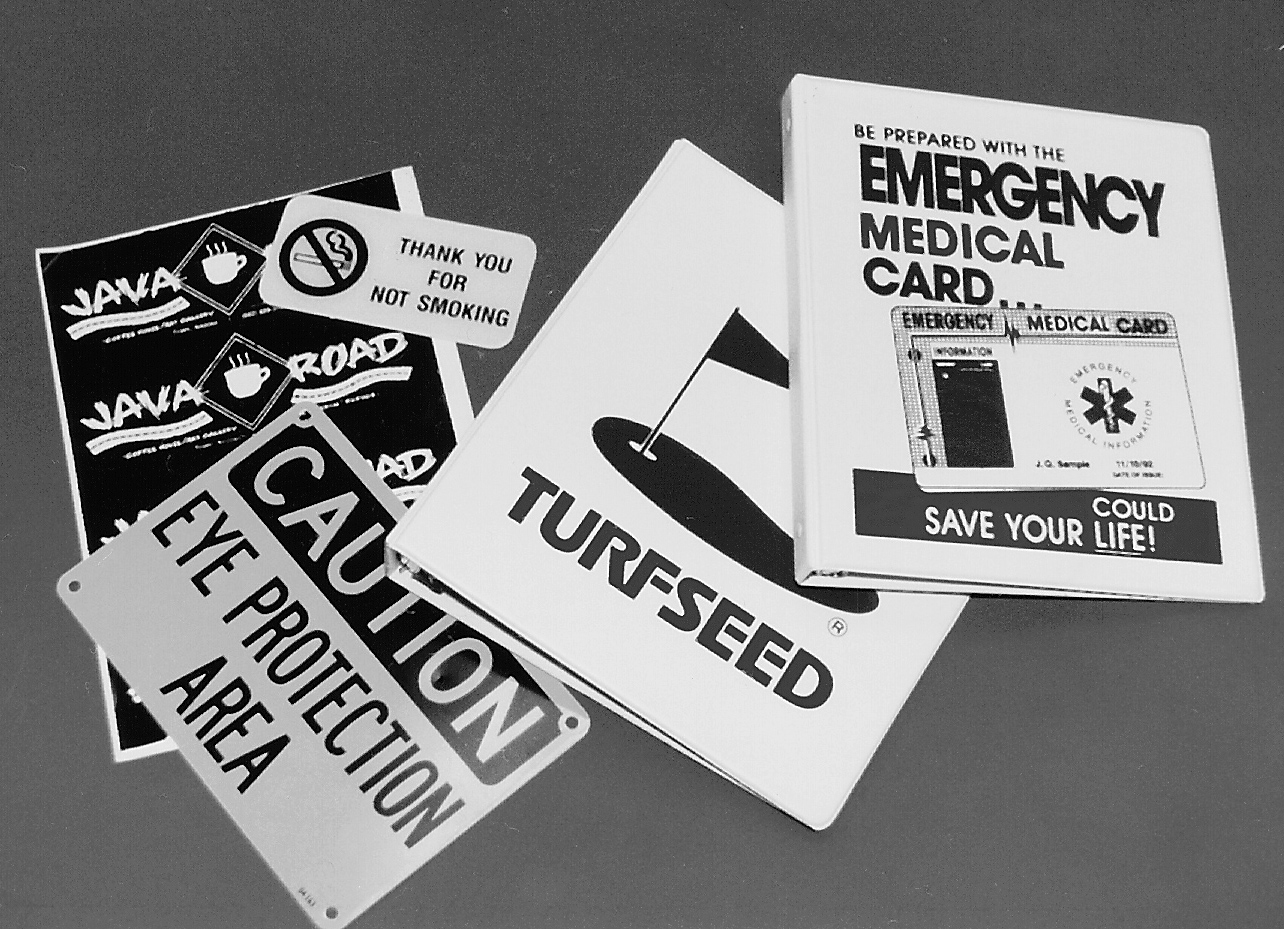
This article is written for all the garment screen printers who want to diversifyinto non-textile printing and have never worked with inks that dry in the screen and all of the frustrations thatcome with this type of printing.Just because you have the title “T-Shirt printer” written all over youyour customers think that you can print on ANYTHING. During election years it is the worst. All of those nice easy-goingT-Shirt customers now want posters, signs, decals, bumper stickers, billboards, buttons.Of course if you are like the many printers, you know that printing on non-textileitems can be very lucrative.
You’ve Got To Do Things Different
The problems begin when you go to do the job. What looked so innocent – (doesn’t 36 plastic plaques with simple artwork and an easy one-color print sound innocent?) turns into a nightmare! You start off by exposing your screen using the same old screen mesh you use for everything. That was easy. You call your supplier and he sells you a quart of ink that is suppose to work on plastic. So far so good. You start to print the job and the first print looks great! Wow – is this going to be a quick $150! All of a sudden the next few prints start to look light and rough around the edges. What’s happening? Could the ink be drying so soon? PLASTISOL ink never acted like this. Well O.K. let’s just open up the image area with our standard solvent – paint thinner. Wait a minute! Paint thinner isn’t even budging this ink! The entire screen is drying up and I don’t have a thing in the shop to clean the screen up with!
Anyone reading this article who has tried using air-dry inks on non- textiles can see himself in the above paragraph. I can see myself (too many times) in the above paragraph. The point is – IT DOESN’T HAVE TO BE THAT HARD OR FRUSTRATING.
Here are 10 quick tips to keep you out of trouble:
- Start off by using the correct mesh. A simple call to the supplier or a look at a mesh selection chart would show you that Monofilament is the best choice because it will not clog as easily as multifilament. Generally for work on decals, signs, vinyl, metal, plastics, etc., you would go up from a 200 – 250 monofilament or HIGHER. No, your 10XX is not the best choice!
- Although a direct emulsion makes a good stencil, for printing on NON-ABSORBENT SUBSTRATES you should use a DIRECT FILM. The difference in edge definition is like night and day! If you are like many of us who have a hard time adhering direct film to fine mesh counts then use the newer dual-cure photopolymer emulsions. They have a higher solids content and will give a fairly sharp edge to the stencil.
- Always print flat items like this OFF-CONTACT. Of course you can only print one-color at a time so if the job is multi-color use a standard three-point registration set-up (almost every screen printing book will show you how).
- Always, always, always, ask your supplier to sell you not only the proper ink – but the correct wash-up, thinner (they are sometimes the same) and the proper RETARDER. Specialty inks require special additives. Of course you may end up spending $40.00 on ink and additives but without them you are dead. Retarder is used to SLOW DOWN THE DRYING PROCESS. Remember to use the correct ink for the substrate. Vinyl ink works on vinyl, enamel works on most metal and wood and poster ink works on paper or cardboard. Plastic ink is NOT all the same because of the wide variety of plastics. Know what you are printing on!
- Always request the ink Specification Sheet. This is sometimes called a TDS or Technical Data Sheet. It will tell you exactly what additives to use and how much. In most cases it will suggest that you thin the ink before you use it.
- Make sure to use a sharp squeegee and print using one good print stroke and a flood stroke (when the screen is in the up position). The flood stroke helps keep the image area moist while you QUICKLY remove the print and get ready for another.
- Have a good supply of wiping rags (preferably 100% cotton) to wipe the screen down if it starts to clog. Also have PRE-CUT test print material to use after you do a wipedown – to test the screen. If you have to go hunt for these materials the ink in the screen will be hardening up while you are out of the room!
- Find a place to lay the prints until they are dry. A rack is ideal but if that isn’t available try film clips, cloths pins, the floor, etc.
- Use plenty of ventilation. The fumes from some of these inks are very strong and harmful both from a health standard point AND from as a FIRE hazard. Be very careful leaving solvent and ink soaked rags laying around or in garbage cans. Remember, this is not solventless plastisol ink. This stuff will and can catch on fire!
- DON’T PANIC. If you have all your ducks in a row in the above list, this can be EASY PRINTING – REALLY! Just plan to print a few extras for the ones you learn on.
I want to leave you with this thought. Printing on non-textiles is one of the most lucrative and best kept secrets of this industry. These items fall into the gray area. People don’t really know the value of a piece of wood, vinyl or plastic that has a print on it. You just don’t walk into a store and buy one.
Good luck


